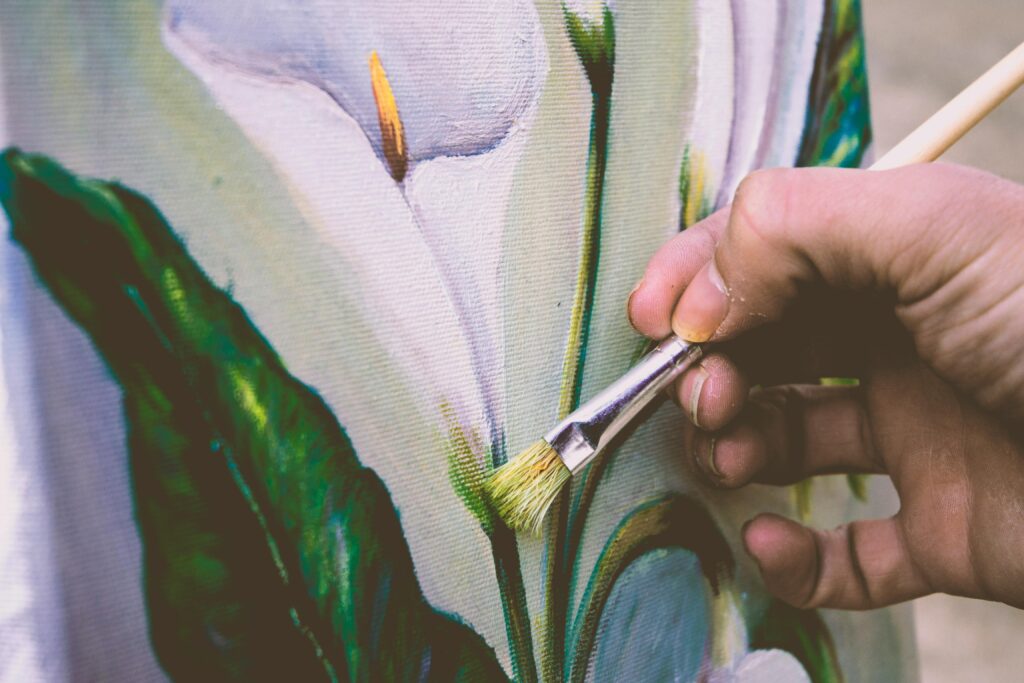
How to Avoid Burnout: 13 Tips from A Tired Artist
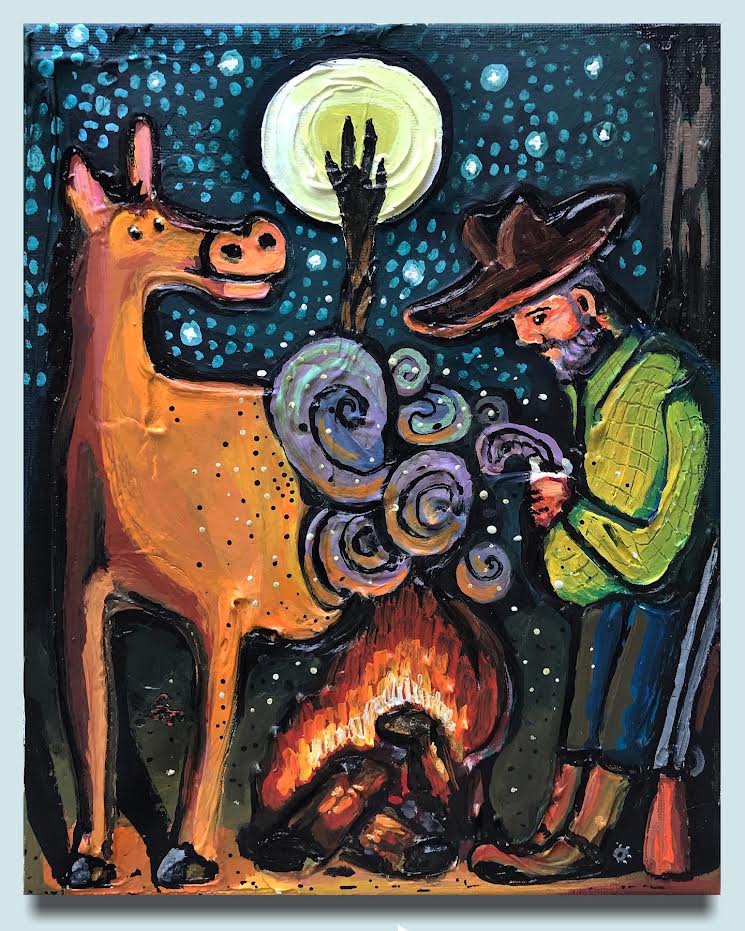
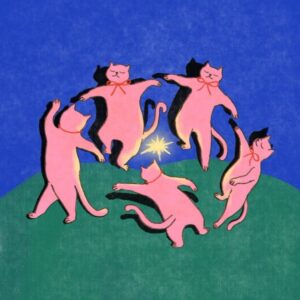
Sometimes the ideas flood out and I can create painting after painting, each more whimsical than the last.
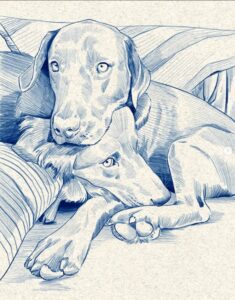
As much as I enjoy these spurts of creativity, when they pass I tend to get burned out. I’ve been an artist for many years and I know I will always love it, but I’m only human. I get tired and frustrated when the art doesn’t turn out the way I want it to and there are a lot of drawings and paintings I choose not to share, out of fear of not being good enough.
So, how do I get out of the creative funk? How do I avoid burnout as a tired artist?
Below I’ve listed 13 tips for how I avoid burnout, from setting healthy boundaries to creating art just for myself. Please remember that these tips to avoid burnout are my suggestions and opinions. Everyone has different methods for how they avoid burnout, and I implore you to use what works best for you and your lifestyle.
Tip #1: Avoid Burnout by Scheduling Out “Art Time”
My first tip to avoid burnout is to maintain a schedule. Whether your schedule is ambiguous like sketching once a day or once a week, or crafting a structured calendar specifically for your creative endeavors, its important to include your art into your routine.

For me, I keep a separate Google Calendar for everything involved in this website, ArtsyDrawings.com. I plan out my social media posts, articles, monthly newsletter, bullet journaling time, and sketchbook time. Of course, I wish I was more diligent in meeting each of the goals I set for myself, but sometimes life happens and interrupts my art time, and that’s okay.
Setting realistic goals, like working on a project once a week, helps break down large projects into manageable tasks. This helps me to stay motivated without feeling overwhelmed and burnt out. Likewise, maintaining a consistent schedule helps me manage my time better and reduces the chances of overworking and spending all my creative juices in one sitting.
Tip #2: Avoid Burnout by Organizing your Time and Space
Honestly, I’m surprised every artist isn’t tested for ADHD. I work on many different projects at the same time, sometimes with different mediums and in different parts of the house. So, tip #2 to avoid burnout is to stay organized!
Organization can be achieved through many different methods. Cleaning frequently, using sorting bins for different materials and mediums, and labeling everything with a label maker are some of my favorite ways to keep myself organized. I think the best way to stay organized mentally is to choose either multiple projects in one location or one project in multiple locations.

it’s aesthetically pleasing and productive
For example, when I bullet journal I select the materials I want to use for the journaling pages and I’ll take those materials wherever I want to work. For me, bullet journaling is a timely process that I can take with me wherever I go; sometimes I’ll work on it at a coffee shop or out on the porch on a nice day. Regardless, I’m choosing one project in multiple locations.
In contrast, when I paint I like to keep everything in one place next to my supplies and artist easel. Acrylic paint dries out pretty fast so once I create the paint palette I like to maximize the material. This means I stay in one place, but work on many different projects at once.
Staying organized physically and mentally helps reduce stress and allows me to focus on the art in front of me. When I know where my materials are located and have my workspace clear, its easier for me to work when creativity strikes.
Tip #3: Make Art Fun Again
I think sometimes artists get caught up in the business and outside expectations that we forget why we started drawing in the first place. Art is a way for people to express themselves and enjoy the process of creating something new. So, how can you find that passionate fire again after burnout?

Below I’ve compiled a list of different activities I like to do when I’m burned out of formal paintings and drawings. These activities help inspire me and get me back into the creative groove.
- Practice mark making
- Walk around a craft store
- Create holiday or birthday cards
- Paint a wooden figurine
- Create a diamond painting
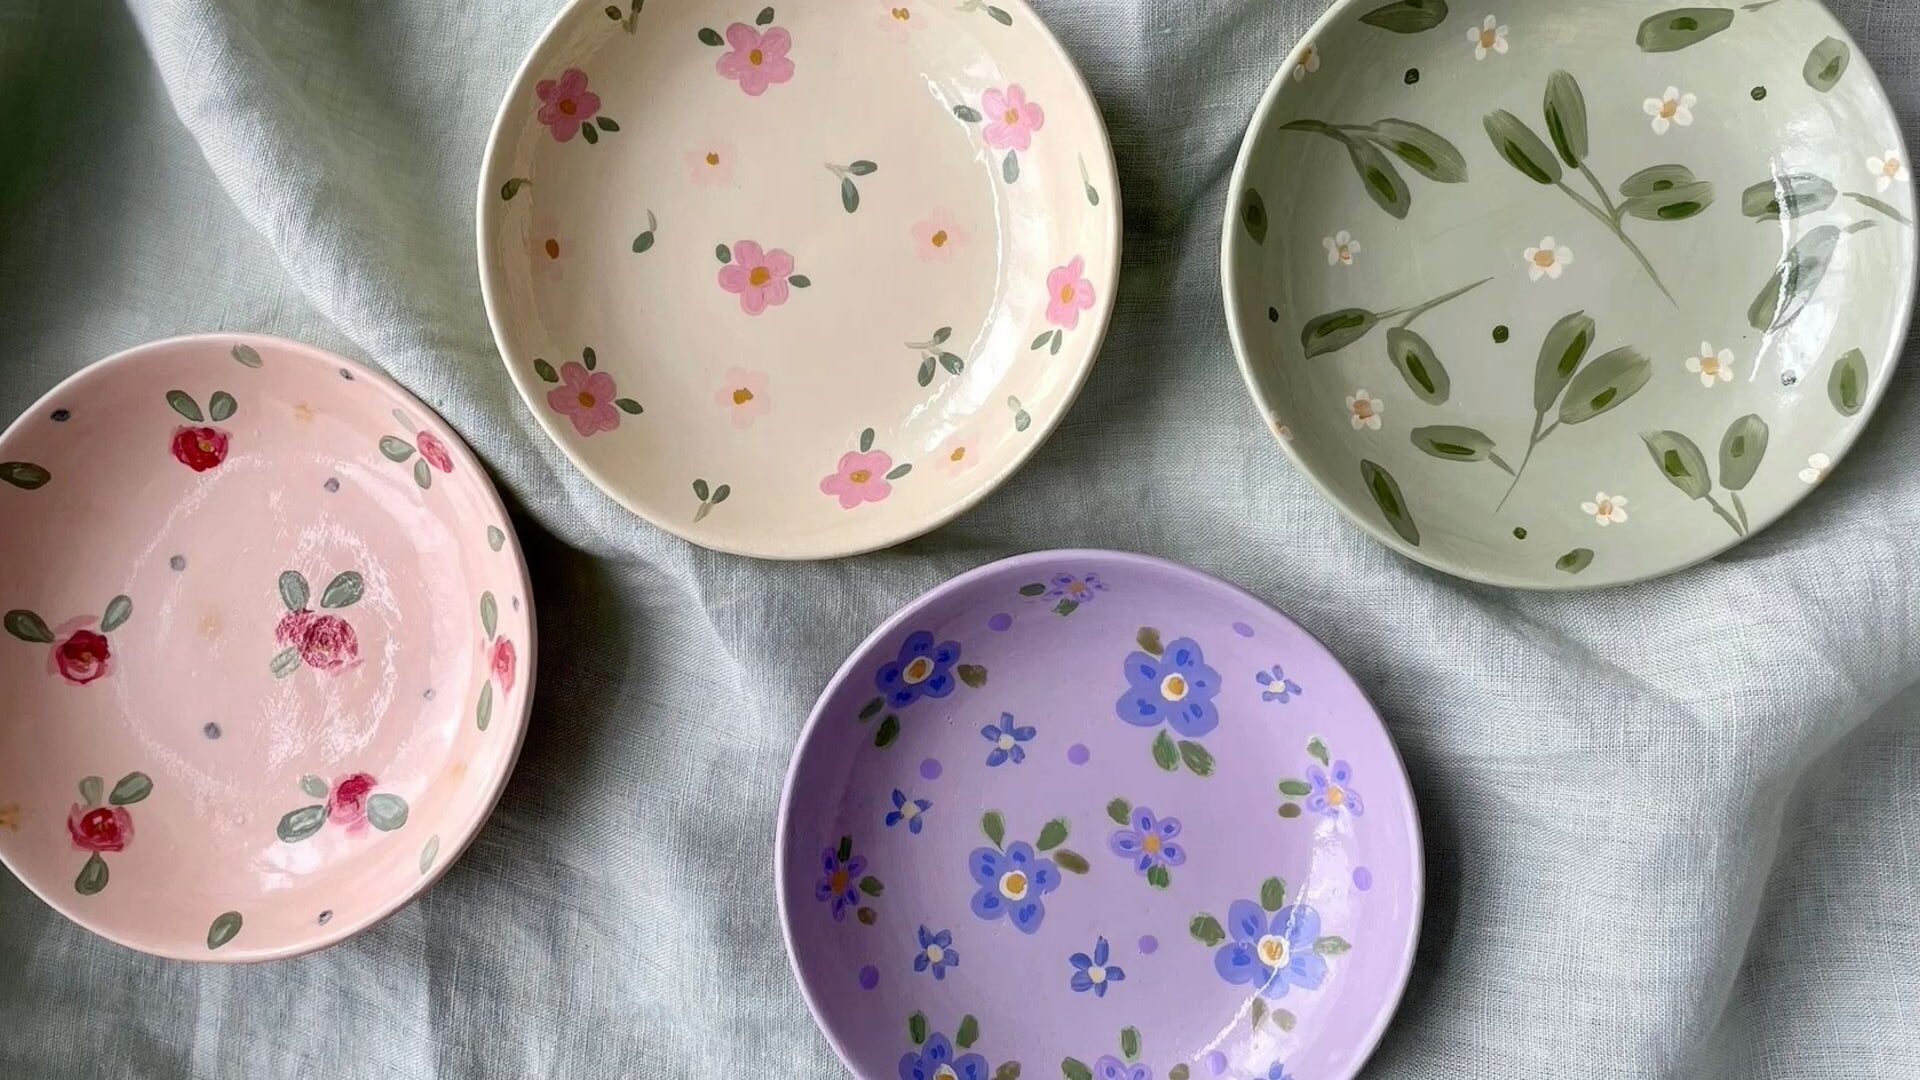
- Paint ceramic plant pots
- Go to a local arts market
- Create a scrapbook mood board
- Test your pens and markers
- Get inspired on Pinterest
Allow yourself to create without deadlines or expectations. Make art just because you love it.
Tip #4: Avoid Burnout by Taking Regular Breaks
Just like school or work, your art requires time and energy. When you overexert yourself painting or drawing, sometimes it can lead to burnout. To help avoid reaching this breaking point, make sure you are taking regular breaks. Step away, take a walk, or engage in activities that relax you.
While this step is simple, it’s easy to forget, especially when you get really deep into the project. This tip goes hand-in-hand with Tip #1: Avoid Burnout by Scheduling Out “Art Time.”
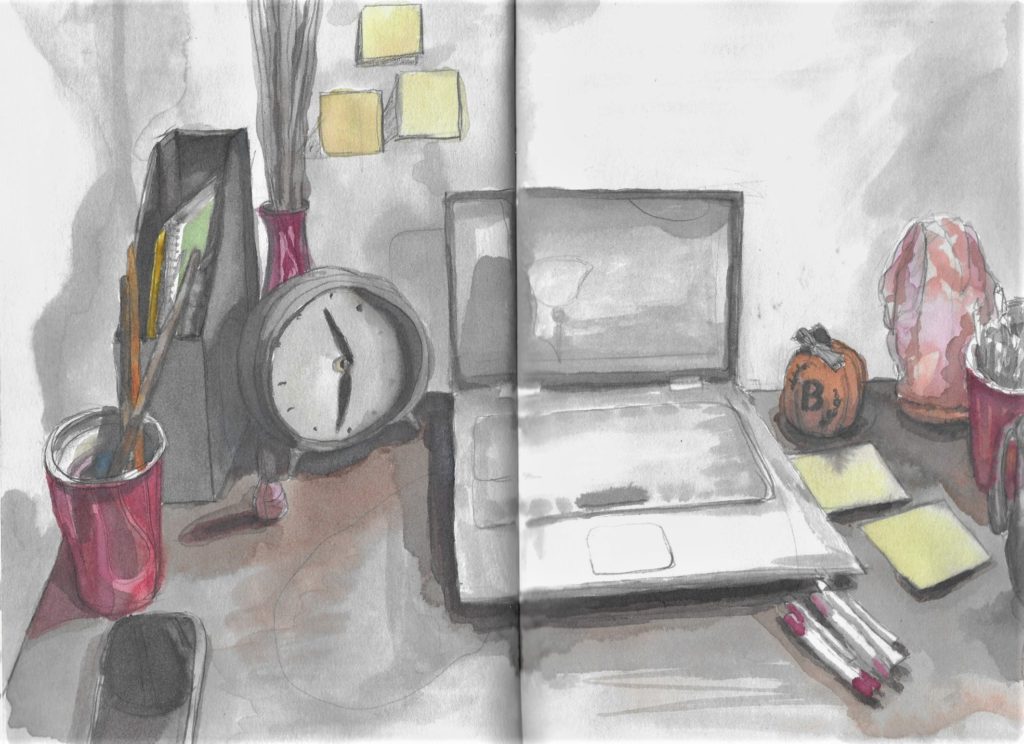
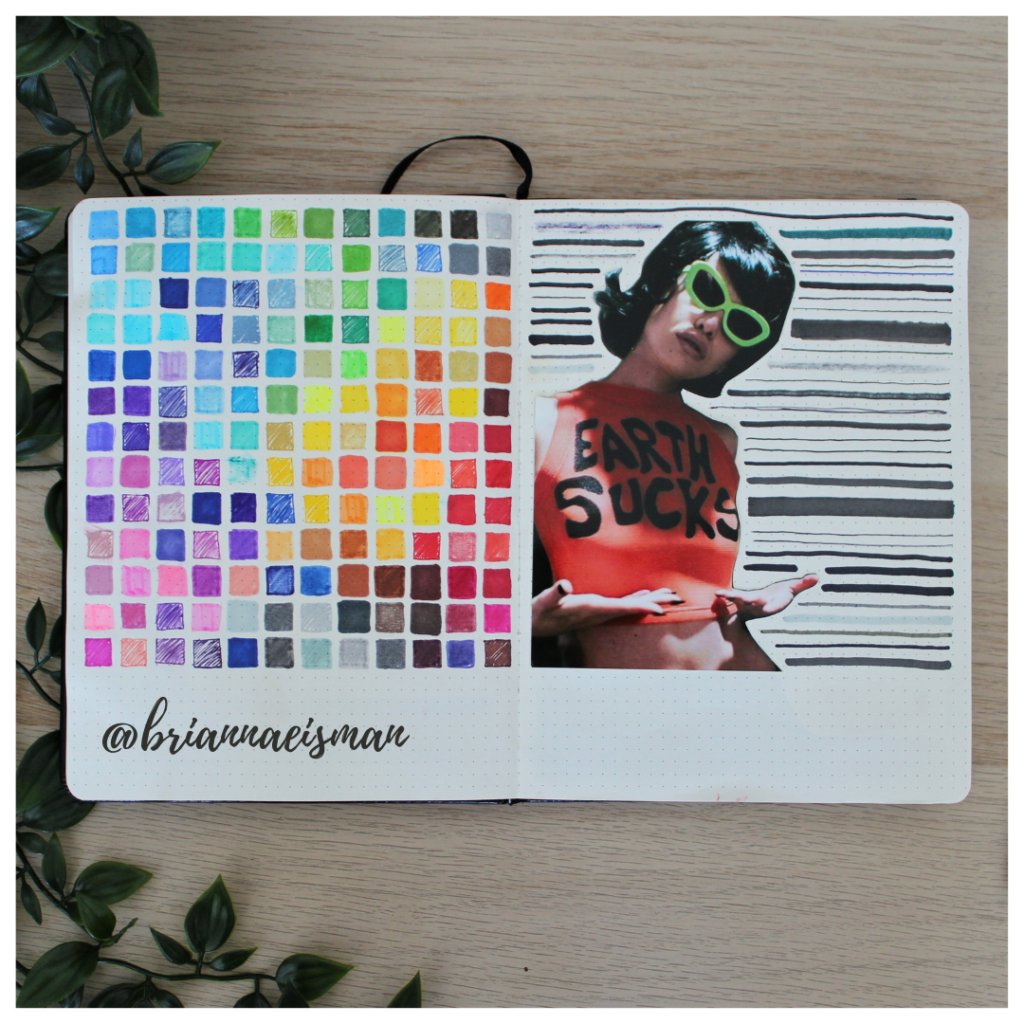
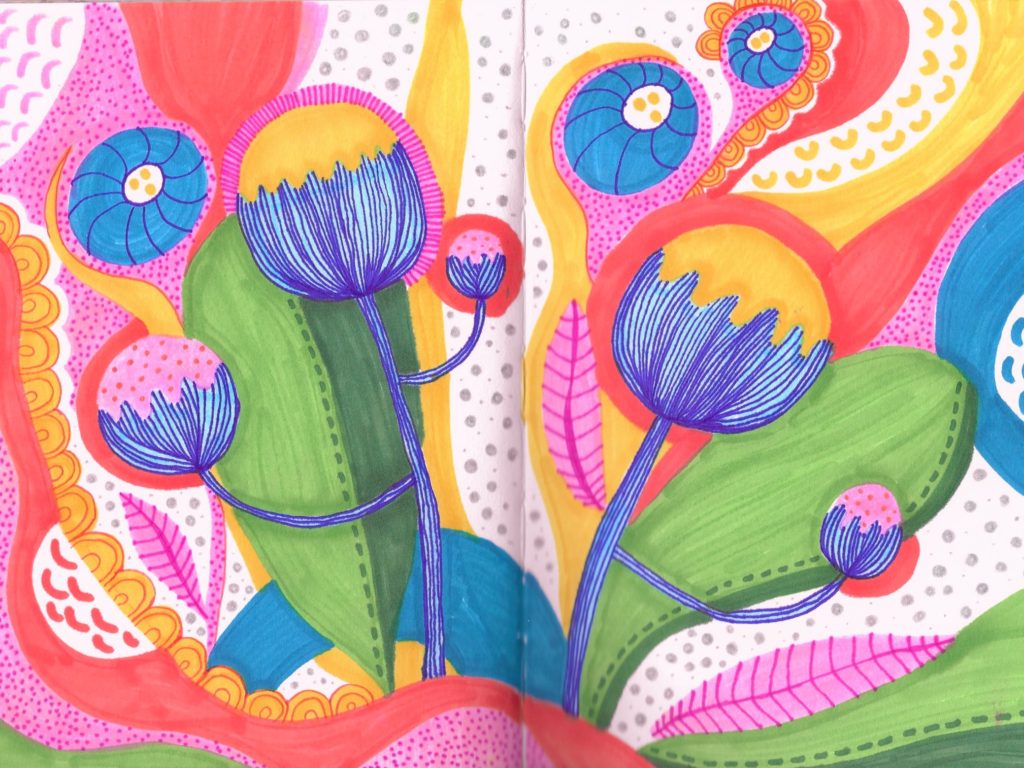
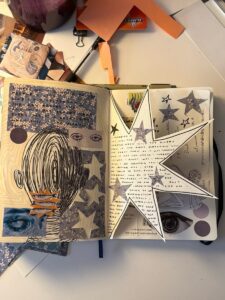
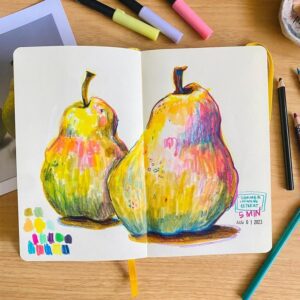
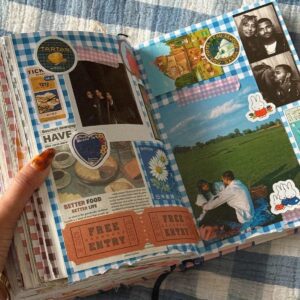
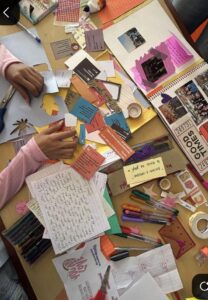
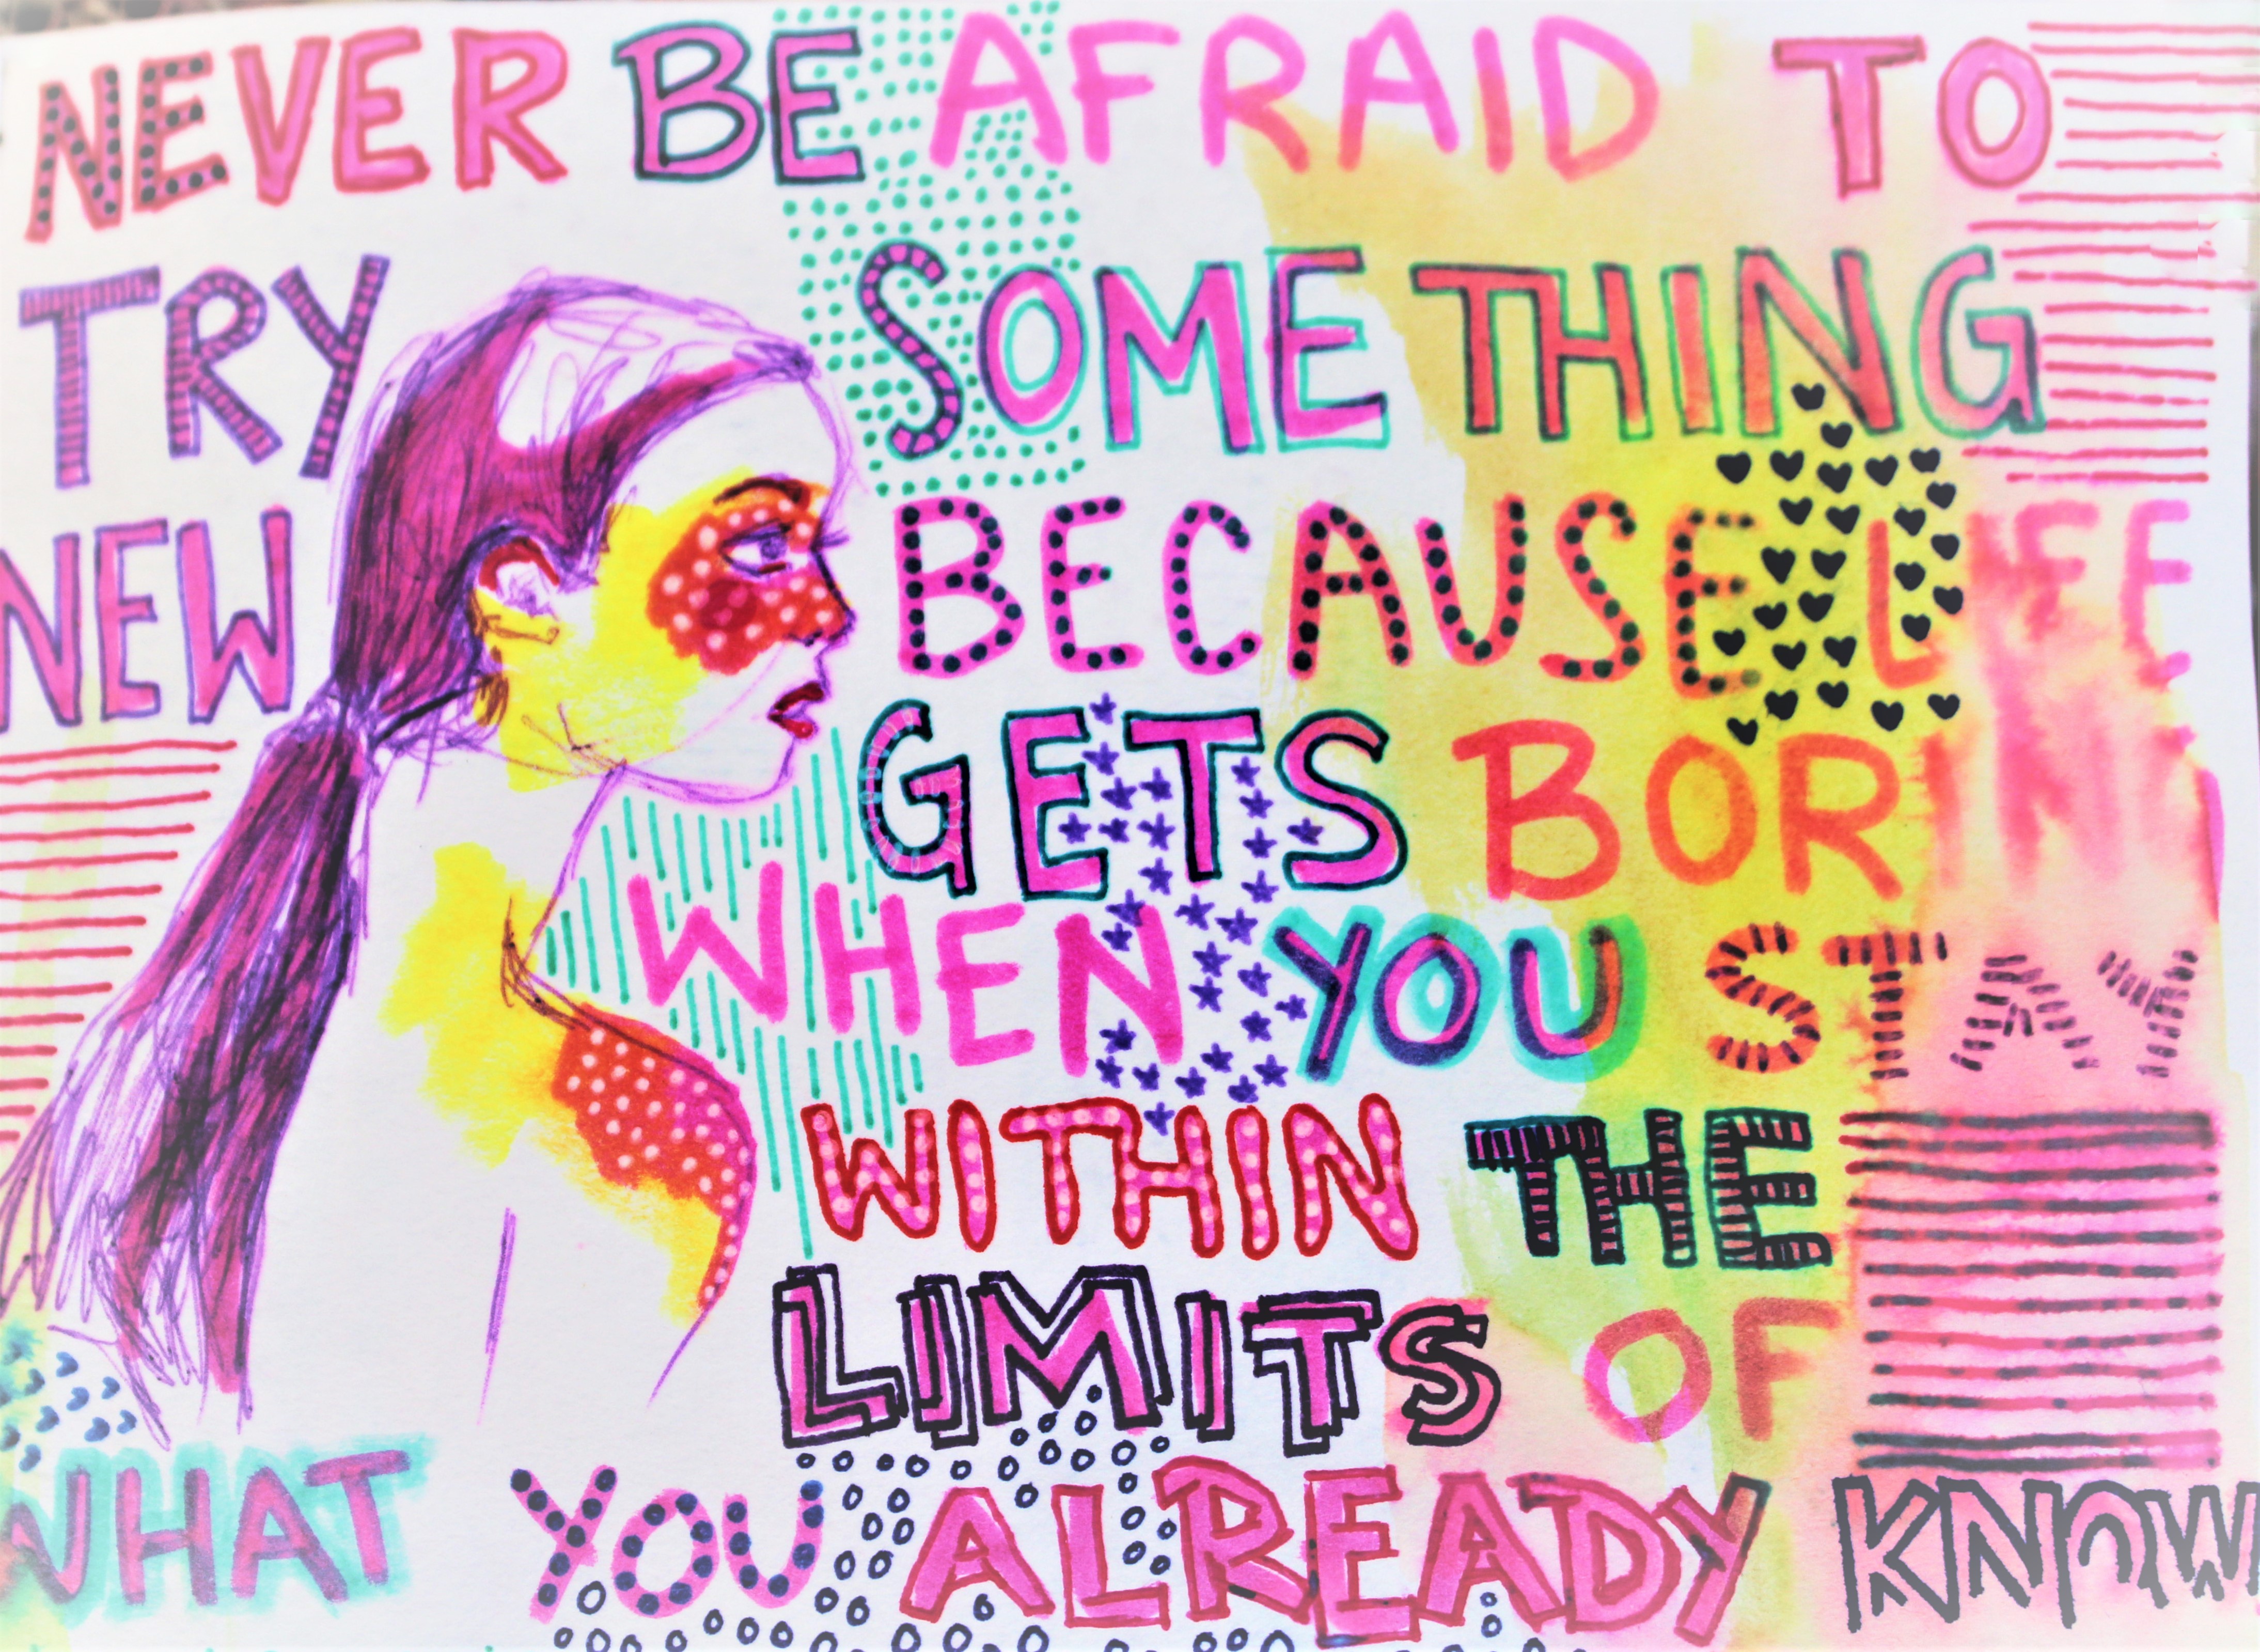
Tip #5: Avoid Burnout with a Sketchbook
When you keep a sketchbook or journal it allows you space to write down thoughts, ideas, and feelings that can help declutter your mind promote creativity outside of finished pieces. This tip is important whether you are currently burned out, approaching burnout, or actively creating art.
 #journaling")
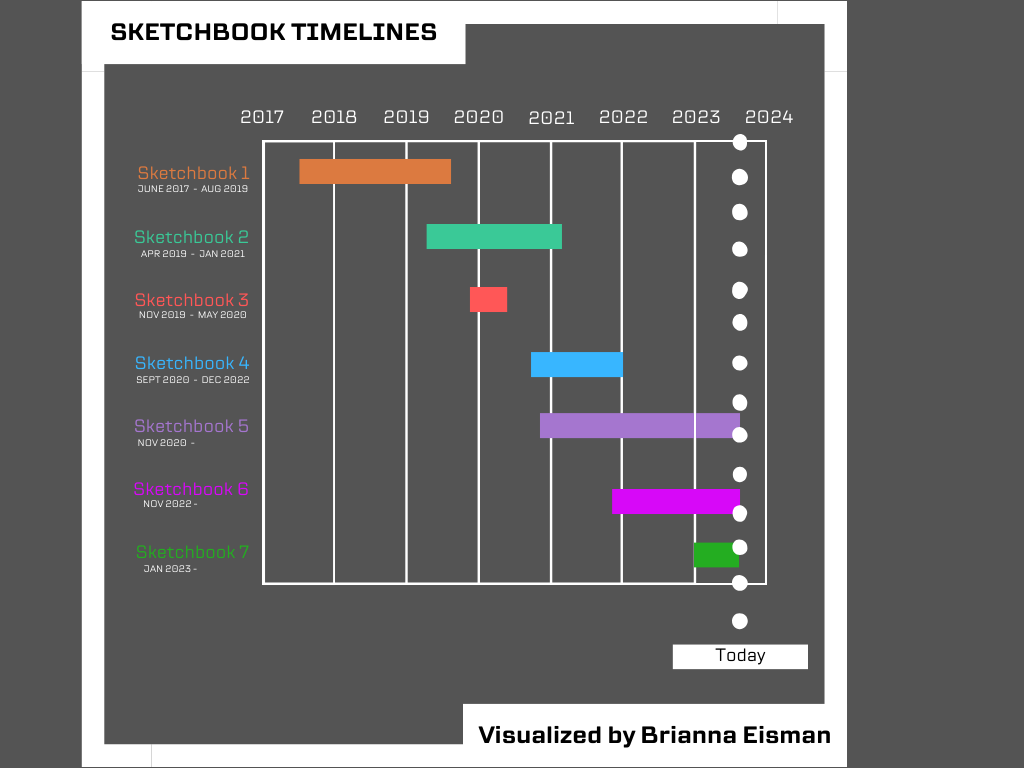
I was introduced to regularly drawing and sketching in a journal/sketchbook in middle school, and I’m happy it’s stuck with me. Aside from jotting down quick ideas and sketches, keeping a sketchbook is a great tool to maintain your creativity. I keep a few different sketchbooks for different reasons:
- Bullet Journal – My bullet journal is a formal sketchbook structured by month. Each month I choose a color scheme and theme and create tracking pages for my habits, moods, and special moments from that month. For example, I have pages for my phone use, music I listened to recently, seasonal produce, and positive events that occurred throughout the month.
- Private Sketchbook – This is the sketchbook I don’t show anyone, at least for a few years. I started the sketchbook with the intention of keeping it private, so the drawings are bad and weird and wonky, and that’s okay. This journal erases the expectation of making “good” art and focuses on simply creating and improving my line work, color schemes, and overall creativity.
- Public Sketchbook – This sketchbook is the exact opposite of the above mentioned “private sketchbook.” I started it with the intention to share it publicly and to create beautiful, finalized works of art. If I mess up or don’t like the way the drawing is going, I’ll draw or paint over it. My idea for this sketchbook is to be able to bring it to art markets with me as a easy way to show my portfolio and range.
Tip #6: Avoid Burnout by Celebrating Small Wins
When you’re learning to draw it’s easy to compare your work to others, or even compare it to the image you had in your head. Don’t get yourself down on what you can’t do, you have to focus on celebrating the small wins. You won’t become a great artist overnight, it takes a lot of bad drawings and it’s frustrating.
I remember this one portrait painting in art school that I kept painting the face over and over again because I just couldn’t get it right. The acrylic paint was so thick that if you held the canvas up to the light, no light would shine through to the back. This was one of my first experiences with artistic burnout. I hated working on this painting and dreaded going to the class. So, one day I got so frustrated that I took Cadmium Red paint and blocked out the portrait’s face with a big red blob. A few different things transpired:
- I shocked myself and remembered that I choose to make art because it makes me happy and puts me in control.
- I stopped working on the portrait’s face and focused on other aspects of the painting like the hands, dress, and background. Improving these associated pieces helped improve the painting as a whole.
- I gave myself a clean slate to start over on the face and it worked. I was able to repaint the face without the original disproportionate sketch peeking through.
These were three small victories that contributed to finishing the painting. Honestly, I’m not sure where that painting ended up. But, I’m glad I was able to turn my artistic burnout and frustrations into positives. The acknowledgement of small wins help you stay motivated and help avoid burnout.
Tip #7: Avoid Burnout by Seeking Inspiration
Being creative doesn’t necessarily mean making art, there are many ways to be creative.
When burnout strikes, instead of forcing yourself to create, try seeking inspiration through nature, local arts markets and galleries, or connecting with fellow artists. If you’re unable to go outside, scrolling through online art platforms like Pexels, Doodle Addicts, and RedBubble can provide a much-needed boost.
I also enjoy using my connections on social media for inspiration. I’ll do a deep dive into a hashtag I like to find similar artists or scroll the explore page until I find something that stands out to me.
Inspiration is all around you, but its up to you to allow yourself to be inspired by it. 🌸
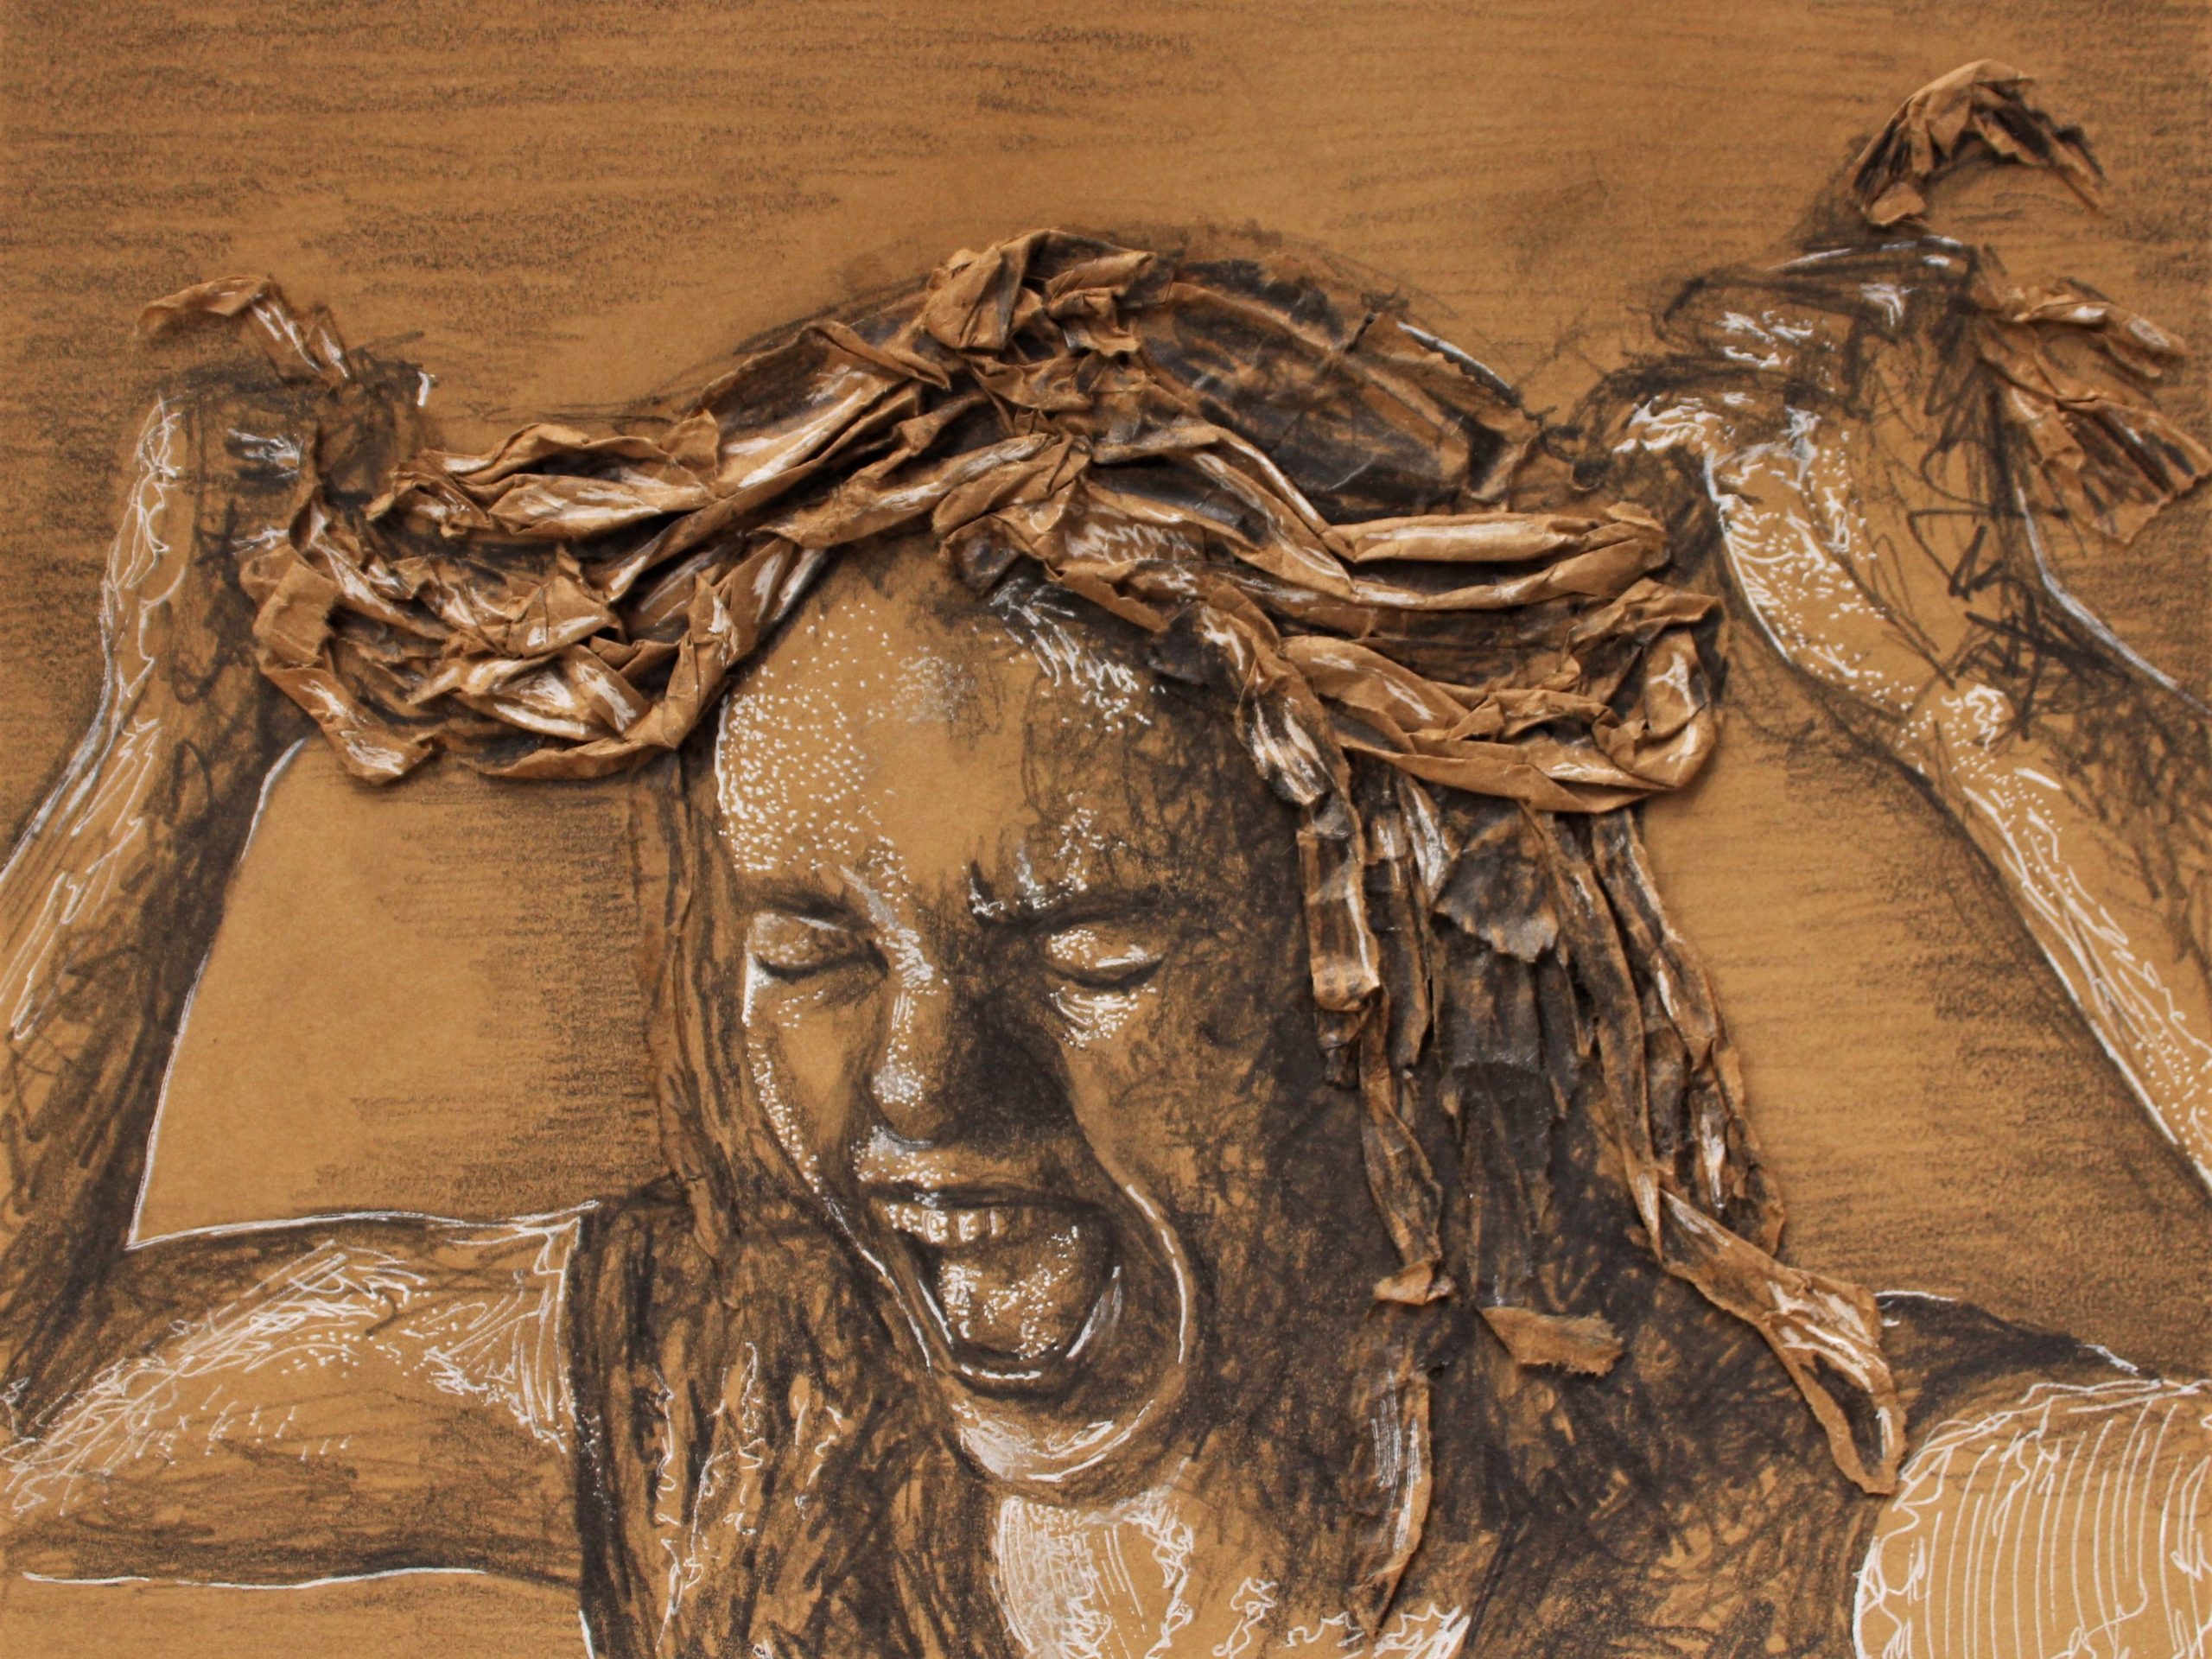
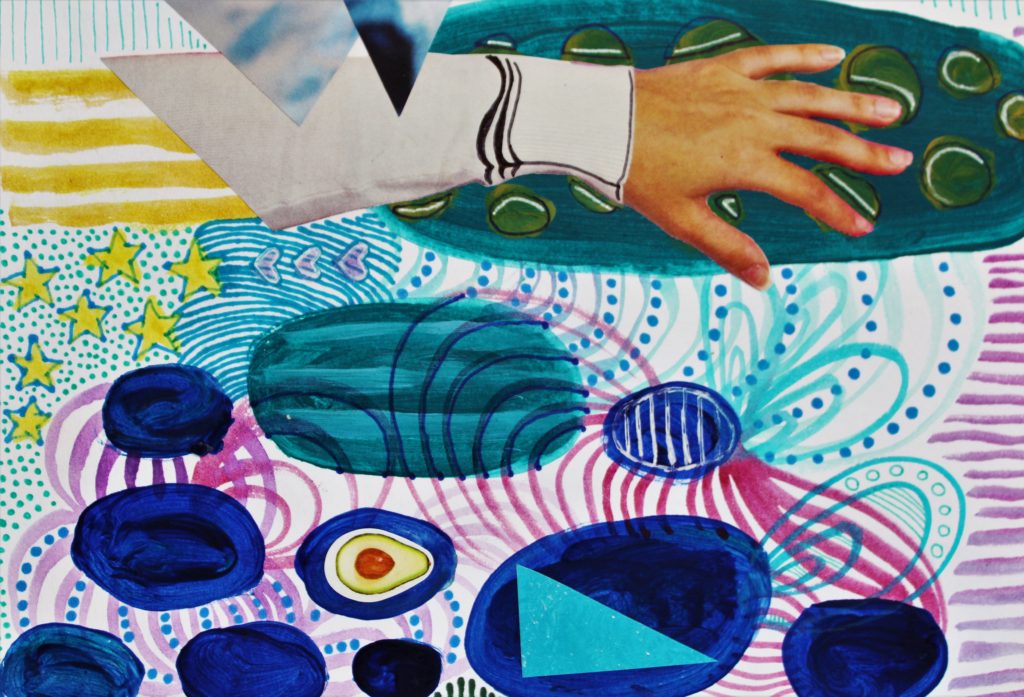
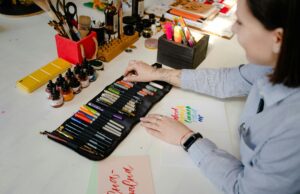
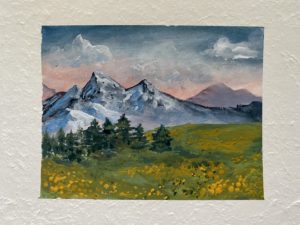
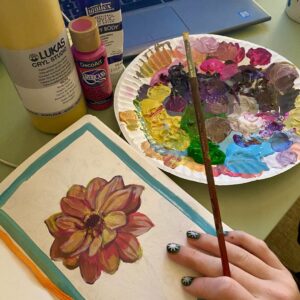
Tip #8: Avoid Burnout by Experimenting
Experimenting with different mediums can lead to new ideas.
Maybe your problem isn’t your creativity, but rather that you’ve been working with the same material or medium for too long. I know I go through cycles of painting, drawing and photography. Basically, when I get bored of the one medium, I’ll switch to another, avoiding burnout.
My personal favorite mediums are typically acrylic paint and drawing markers, but I do love to switch things up. I have a box labeled “Misc. Art Supplies” for stuff like henna, ribbons, embroidery floss, beads, tape, magnets, felt, glitter and all sorts of different things. When I’m burned out, or trying to avoid burnout, I’ll trifle through this box and see if anything stands out.
Tip #9: Avoid Burnout by Knowing When to Say “No”
You may be at the point in your art career where you are accepting commissions, paid and unpaid. It’s important to know yourself and your limits when accepting commissions. Rushing your art can significantly impact the quality of it. Knowing your abilities and your boundaries can help you avoid burnout.
It’s important to set healthy boundaries and learn to say no to projects or commitments that will stretch you too thin or compromise your creative time.
Tip #10: Avoid Burnout by Hiding your Art
After working a piece for while, you no longer see the work as a whole, rather individual parts that still require work. So, the next time you decide to take a break, move the piece somewhere you won’t be able to see it on a regular basis. For good measure you can also turn the piece upside down.
Tip #4: How to Avoid Burnout by Taking Regular Breaks talked about taking regular breaks to help you recharge and reset your eyes when making art. Tip #10: Hide Your Art is about hiding your art to further help reset your eyes.
When I work on a painting for multiple hours, I have to take a longer break at some point. During the time I’m not painting (could be days, could be weeks) the piece is hidden away in my storage closet. When I eventually resume painting, it’s new again and I can see things I didn’t notice before.
This practice helps you avoid burnout by reinvigorating your art with new perspective and energy.
Tip #11: Avoid Burnout by Prioritizing your Physical Health
This tip is pretty straight forward, but it needs to be said. You are the machine behind the products, and if the machine breaks no products are made. It’s important to prioritize your health above your art. Northwestern defines physical wellness as “recognizing the need for physical activity, healthy foods, and sleep, as well as preventing illness and injury or managing chronic health conditions.”
- Get enough sleep and recharge
- Exercise regularly
- Stay hydrated
- Create well-balanced and healthy eating habits
- Seek medical care when needed
Tip #12: Avoid Burnout by Engaging with the Art Community
Whether you are a sculptor, painter, or graphic designer, art is subjectively lonely. The practice is typically done by yourself and reflects your personal experiences, expressions, and style. I’ve mentioned before in this article about how you can help to avoid burnout by visiting museums, galleries, and arts markets. These activities are a great way to connect with the art community.
Connecting with others who share your passion helps you grow. One of the easiest ways you can connect with others is on the internet. I frequent r/ArtistLounge on Reddit. This group posts most anything art like progress photos asking for critiques, art business questions, recommendations for art supplies, and personal troubles that other artists may share.
Engaging with other artists can provide new perspectives, lessen isolation, and make projects more fun.
You can also connect with me and my art community by joining my monthly newsletter! I send out updates about my website, recent art I’ve created, and local galleries and artsy events.
Tip #13: Avoid Burnout by Avoiding Perfectionism
Perfectionism is a spicy mix of anxiety, expectations, and procrastination. It’s something everyone deals with, no matter the industry.
As an artist, I see perfectionism at both the beginning and end of my projects. To start, I fear failing or messing up or marking the wrong mark on the page. I procrastinate or over-plan to the point that sometimes I have to tell myself “oh my goodness, just paint!!!” I see the same emotions pop up at the end of a project when I struggle with deciding when the piece is truly finished. I even debate varnishing paintings just in case I want to go back in and edit something. I’m stressing myself out when I should be enjoying making art.
Even as I write this article, I’m plagued with anxiety that I’m giving poor art advice or I’m not answering the questions the “right” way. But, that’s the thing with art, there isn’t really a “right” way.

Obviously, if you follow color theory or composition tips or imitate a certain historical style, your art is more likely to please the eye. But, at the end of the day, your art is an extension of your emotions and feelings; it’s subjective. Art focuses ideas and thoughts into shapes and colors that have depth and meaning. Ideas aren’t perfect, so why do you expect your art to be?
There’s this productivity phrase that says “Done is better than perfect.”
It’s a motivator for those, like me, who struggle with perfectionism and avoiding burnout, to try and see the bigger picture. Not every piece has to be a masterpiece.
When you learn to appreciate the process, and not just the result, you find deeper meaning in art.
How to Avoid Burnout: 13 Tips from A Tired Artist Read More »